Guide
How to set up a dartboard at home
Half an hour, a tape measure and a spirit level. Do it properly once and you never think about it again.
By Ryder M. · Last updated September 27, 2026 · How we pick
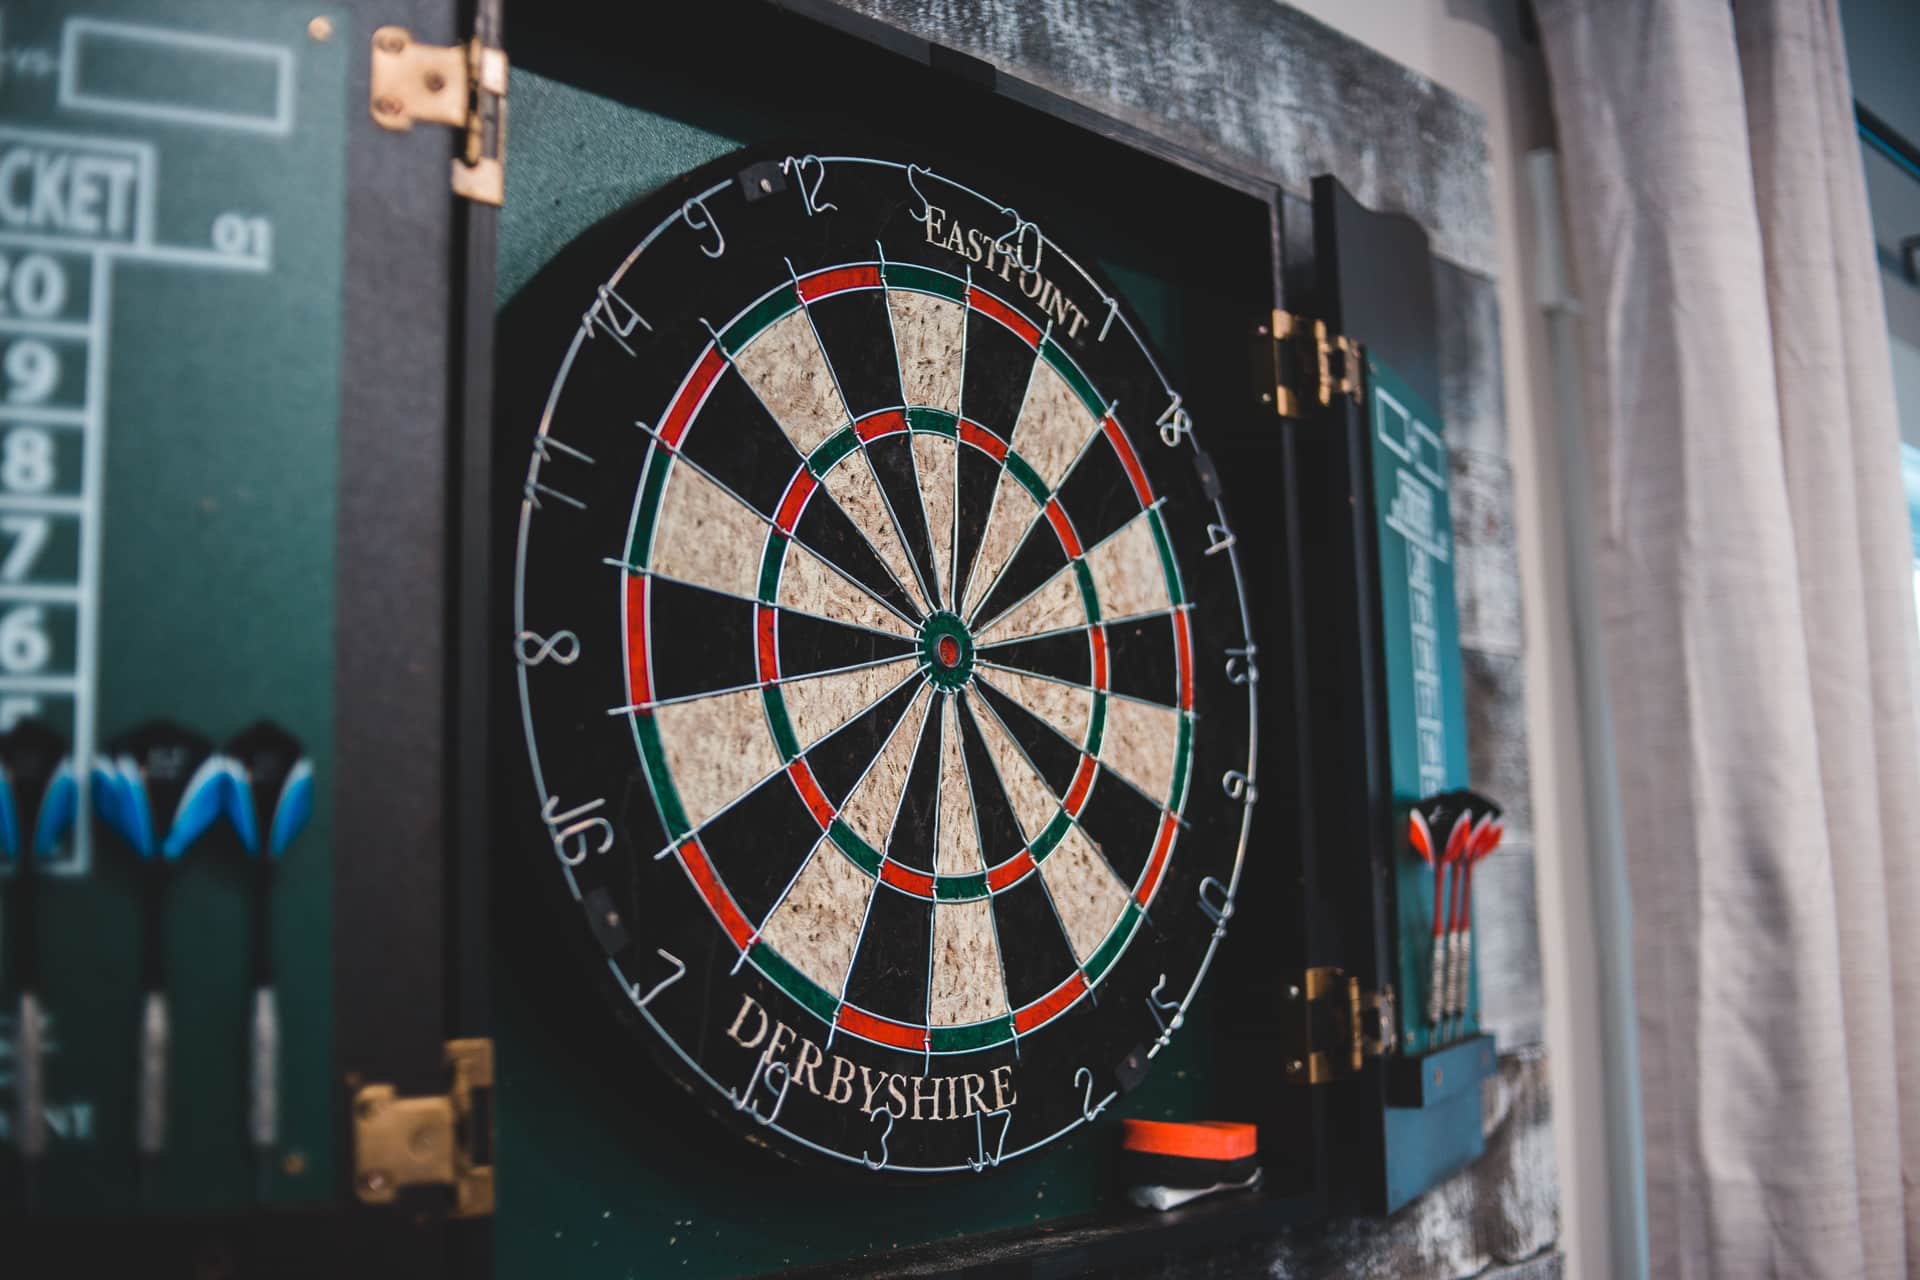
Short answer: mount the board so the bullseye is 5ft 8in from the floor with the 20 at the top, mark the throw line 7ft 9¼in horizontally from the board face, verify with the 9ft 7⅜in diagonal, fit wall protection, and light the board from above and in front. That is the whole job.
Before you start
What you need
- A tape measure long enough for the diagonal — at least 10 feet.
- A spirit level, to check the board is vertical and the bracket is straight.
- A stud finder, or hollow-wall anchors. A dartboard alone is manageable; a cabinet with a board in it is not something to hang on a plasterboard screw.
- A pencil and something to mark the throw line.
- Wall protection — cabinet or surround. Fit it as part of the installation.
The installation
Step by step
- Choose the wall. You want about 11 feet of clear depth in front of it and roughly 2 feet either side of the board. Avoid a wall with a doorway behind the throwing position — see how much space you need.
- Mark 5ft 8in on the wall. This is where the center of the bullseye goes. Measure from the finished floor, and if you are fitting a mat, measure from the top of the mat.
- Fix the bracket. Most boards come with a mounting bracket and a center fixing. Get it level and into something solid — a board pulling off a wall takes plaster with it.
- Hang the board with the 20 at the top. The black 20 segment goes directly above the bullseye. Check the bullseye is at exactly 5ft 8in once hung, not before.
- Check the board is vertical with a spirit level held against the face. A board leaning forward or back changes where darts land relative to where you aim.
- Measure the throw distance: 7ft 9¼in horizontally from the face of the board, at floor level, for steel tip. For soft tip, use the figure in your board's manual — commonly about 8ft.
- Verify with the diagonal: 9ft 7⅜in from the center of the bullseye to the back edge of the throw line. If that measures correctly, everything else is right.
- Mark the line permanently with a throw line marker, a mat or tape. An approximate line is the most common home setup fault.
- Fit the surround or close up the cabinet, and check the doors still open and close freely.
- Sort the lighting. Any light above and in front of the board. A ceiling fixture behind the player throws their own shadow on the target.
Quick picks
Tap any row to jump to the full write-up.
| # | Product | Best for | Price |
|---|---|---|---|
| 1 | 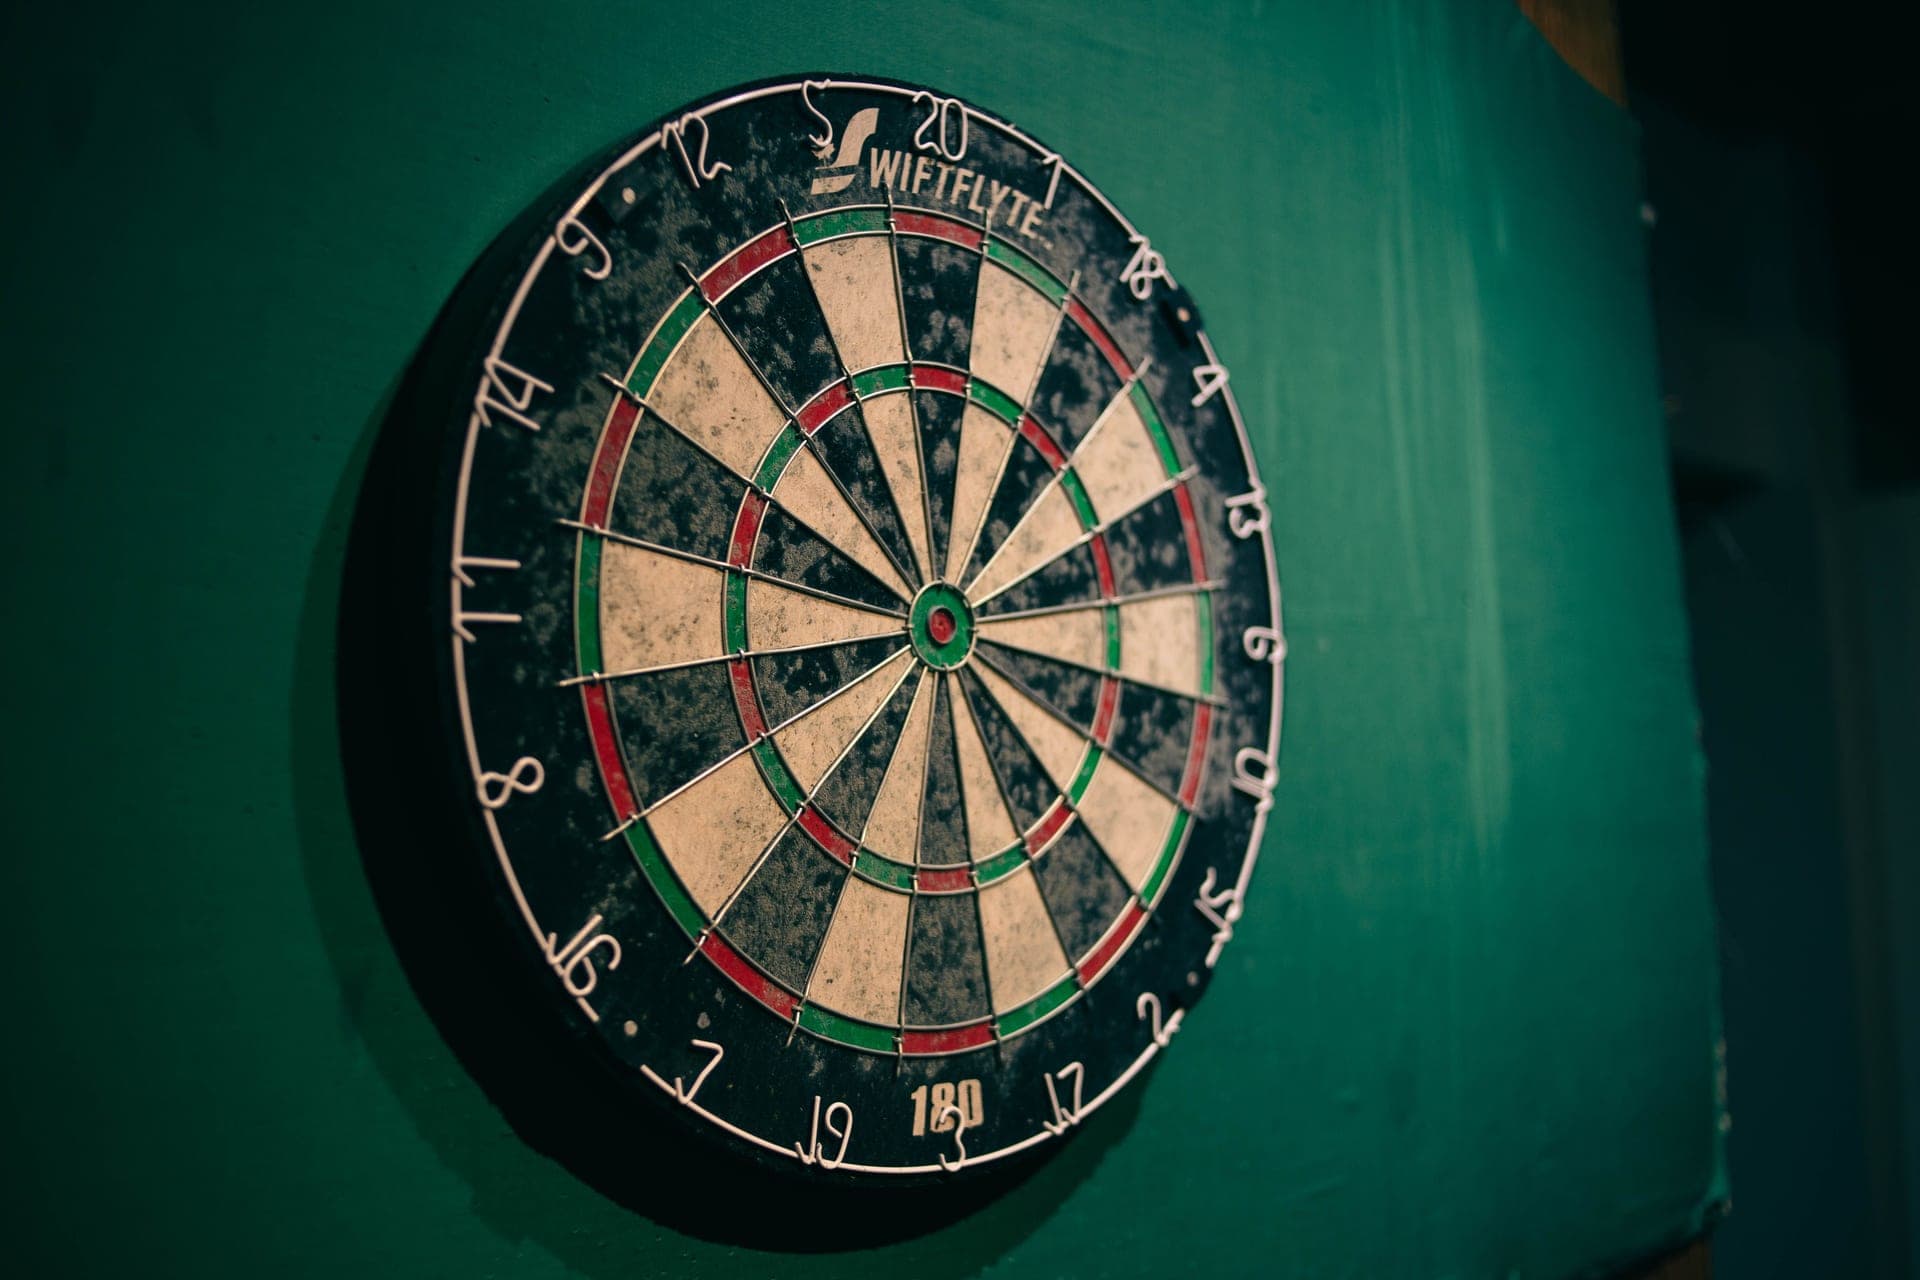 The board Viper Shot King Bristle Dartboard A genuine sisal board worth mounting properly. | Most home setups | Check price on Amazon |
| 2 | The wall protection Viper Metropolitan Dartboard Cabinet Fit it as part of the installation, not as a later repair. | Any board in a room people use | Check price on Amazon |
| 3 | 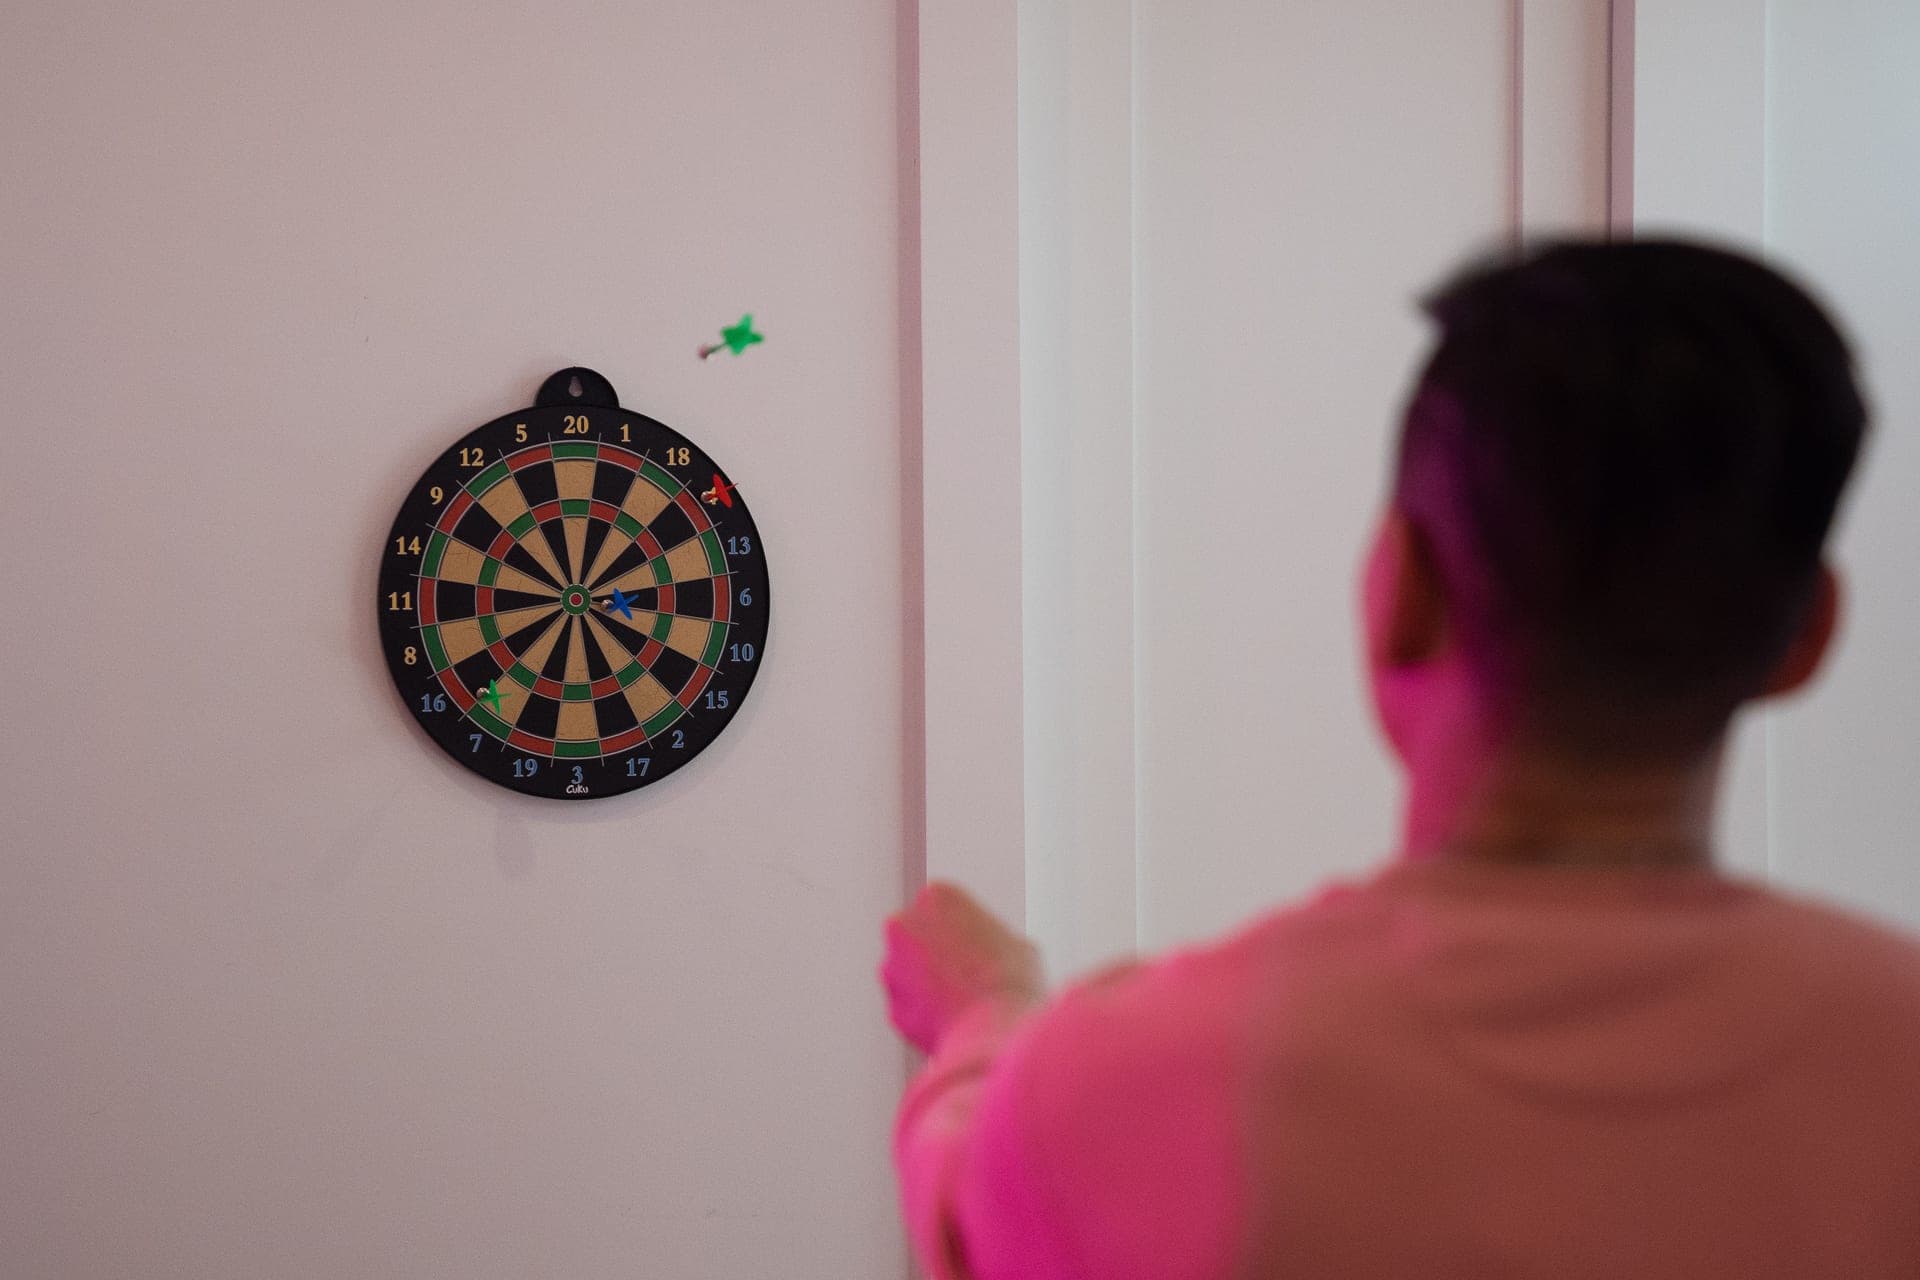 The throw line Viper Throw Line Marker The cheapest part of the setup and the one that makes practice transfer. | Every installation | Check price on Amazon |
#ad · Buy links are affiliate links and we earn a commission on qualifying purchases. Photographs are licensed images of the category, not of the individual unit — see each retailer listing for the product’s own photography.
1. The board
Viper Shot King Bristle Dartboard
Viper (GLD Products)
Real sisal with a staple-free bull, at a price that suits a first proper installation.
What we like
- Staple-free bull
- Genuine sisal
- Rotating number ring
- Good value
Worth knowing
- Thicker wire than premium boards
- Wears with heavy use
- Needs wall protection
Who it’s wrong for
A household with small children — consider soft tip.
#ad · We earn a commission on qualifying purchases. How this is funded
2. The wall protection
Viper Metropolitan Dartboard Cabinet
Viper (GLD Products)
A cabinet turns the installation into a finished piece of the room rather than a board screwed to plaster.
What we like
- Protects the wall
- Hides the board
- Scoreboard inside
- Looks intentional
Worth knowing
- Needs solid fixing
- Door clearance required
- Costs more than a surround
Who it’s wrong for
An electronic board, which needs a different mount.
#ad · We earn a commission on qualifying purchases. How this is funded
3. The throw line
Viper Throw Line Marker
Viper (GLD Products)
Without a marked line, everyone stands somewhere slightly different and nobody improves consistently.
What we like
- Correct distance permanently marked
- Cheap
- Quick to fit
- Consistent foot position
Worth knowing
- Adhesive can mark some floors
- Check floor compatibility
- Easy to forget to buy
Who it’s wrong for
Nothing — every setup wants one.
#ad · We earn a commission on qualifying purchases. How this is funded
Fixings
Mounting on different walls
| Wall | Board alone | Cabinet |
|---|---|---|
| Studs / solid timber | Screw directly | Screw directly into studs |
| Plasterboard, no stud | Hollow-wall anchors | Heavy-duty anchors, or fit a backing board across studs |
| Masonry / brick | Wall plugs and screws | Wall plugs and screws |
| Rented, no drilling allowed | Free-standing stand | Free-standing stand |
A free-standing dartboard stand is a genuine option for renters and solves the fixing problem entirely, at the cost of floor space and some stability.
Details
The finishing touches that matter
- Rotate the number ring every month or two. Sisal wears fastest at the treble twenty. Rotating spreads the wear and hugely extends the board's life.
- Keep a spare set of flights nearby. They break constantly, and a bent flight quietly ruins a throw before anyone notices why.
- Fit a mat if the floor is hard. It protects dart points, the floor, and often carries the throw line already marked.
- Put the scoreboard where you can reach it, not across the room. It is the difference between playing games and just throwing.
- Do not oil or dampen a bristle board. Old advice that circulates and is wrong — modern sisal boards need nothing but rotation.
Questions
Common questions
How do you set up a dartboard at home?
How do you hang a dartboard on a wall?
Can you put a dartboard on a plasterboard wall?
How do you light a dartboard properly?
How do you make a dartboard last longer?
Sources
Keep reading
Read next